How to Install a Quick-Fit Sleeve

The Nordfab Quick-Fit® Sleeve, formerly known as the Adjustable Nipple, is used to quickly provide variable length adjustments in ducting lines of QF Pipe, typically when the length to be spanned is less than a standard 5’ Pipe. QF Sleeve seams are laser welded, preventing leakage, providing a more efficient dust collection system.

Watch our installation instruction video or follow the steps listed below.


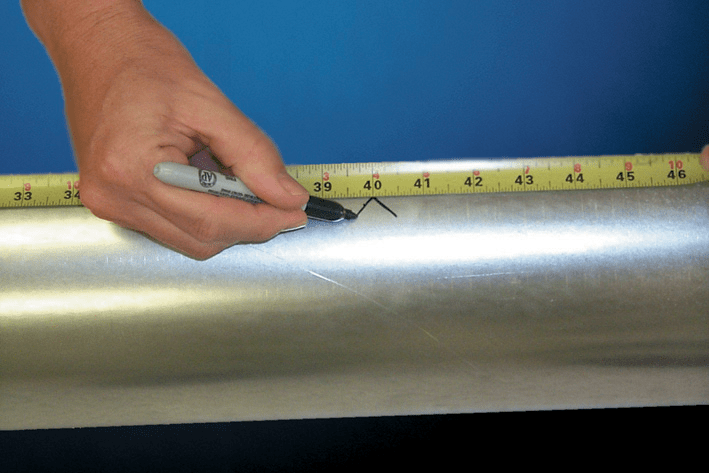
STEP ONE: Measure the distance you want to span.

Quick-Fit Sleeve Installation


STEP TWO: Mark the desired distance to be spanned minus 4”.

Quick-Fit Sleeve Installation


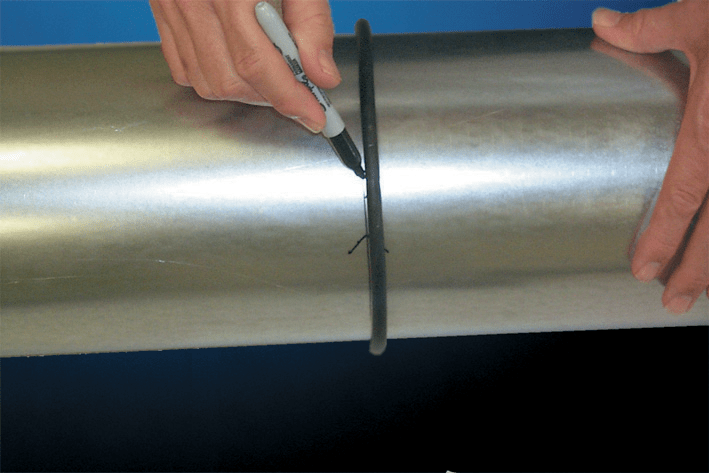
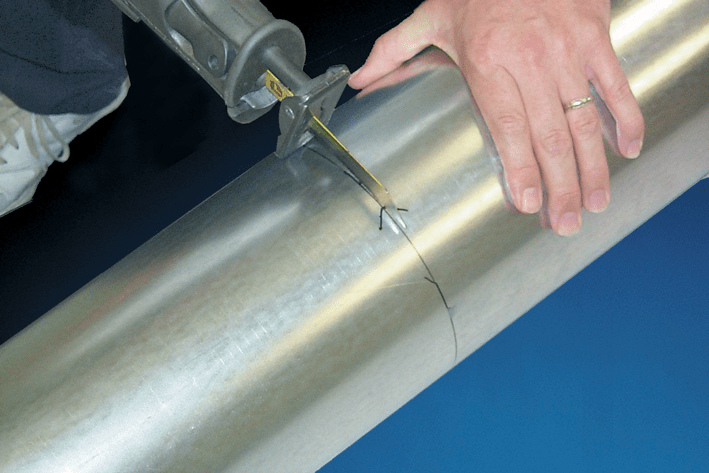
STEP THREE: Use the provided O-Ring and make a mark for the cut.

Quick-Fit Sleeve Installation


STEP FOUR: Drill an access hole, and then cut the QF Pipe with a saw. Make sure the cut is free of burs and that it maintains its round shape.


Quick-Fit Sleeve Installation


STEP FIVE: Place the O-ring on the cut piece of QF pipe and slide a Quick-Fit Sleeve over the cut piece. Be sure that the 11" Quick-Fit Sleeve is downstream (closest to the dust collector) of the cut piece.

Quick-Fit Sleeve Installation


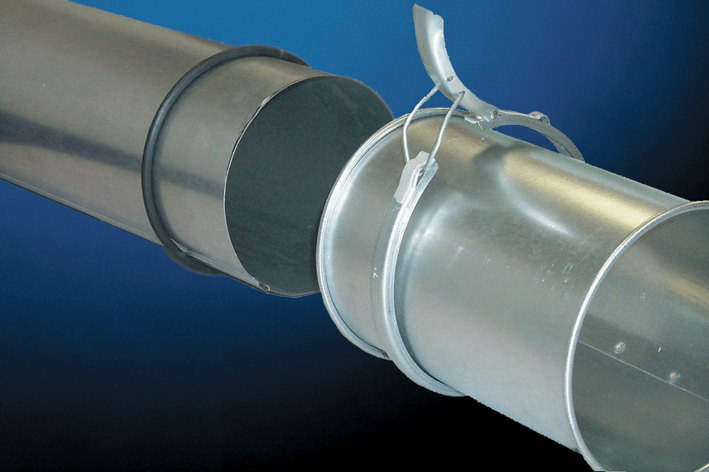
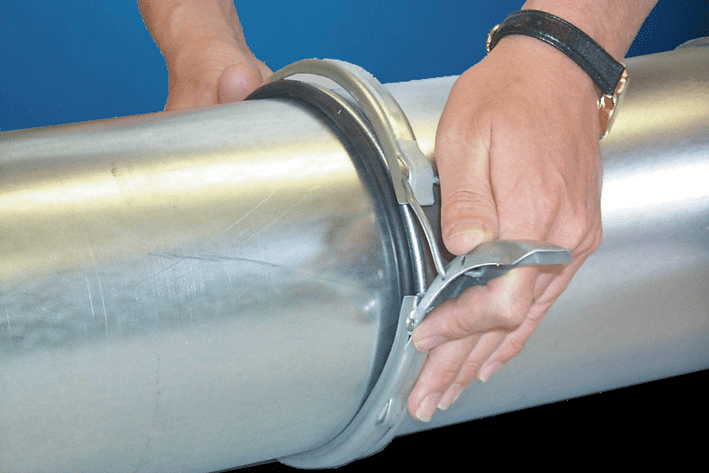
STEP SIX: Snap the QF Clamp over the O-Ring and one end of the Quick-Fit Sleeve.

 Quick-Fit Sleeve Installation


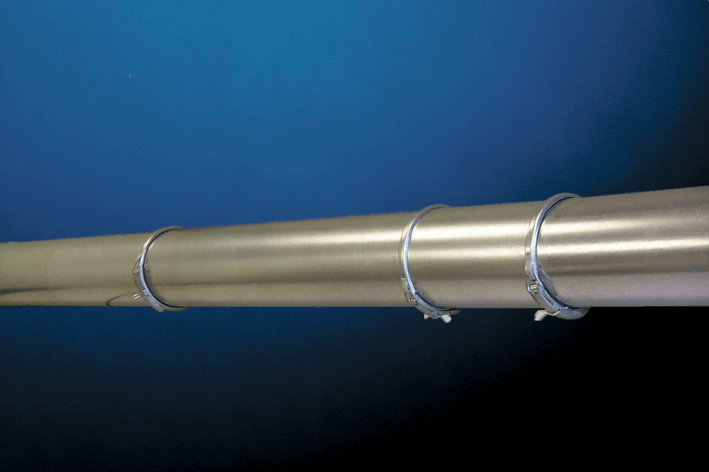
Finished connection with the Quick-Fit Sleeve

Quick-Fit Sleeve Installation

Once in place, you can re-adjust the length of the assembly by releasing the QF Clamp and changing the length of the duct that is inserted into the Quick-Fit Sleeve.

IMPORTANT SAFETY NOTE: To ensure a strong, safe and stable system, there must always be at least four inches of duct inserted into the Quick-Fit Sleeve.


Get in touch

Contact Nordfab Americas